How to be on point
If talking about being on point we immediately think of our brazilian designer Fernanda. That's why we really wanted to come up with a quick tutorial on how pointillism can be done.
First of all you need some material to get started. In this case Fernanda used:
- Mechanical Pencil 0.7
- Pens Staedtler pigment liner 0.05 / 0.1 / 0.2
- Eraser
- Paper
- Photo reference
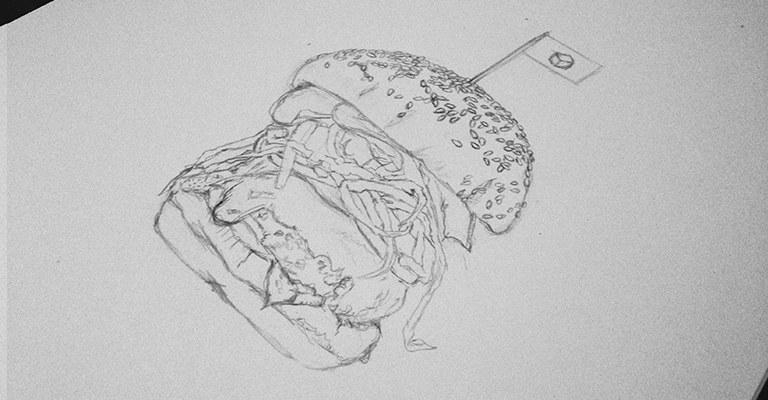
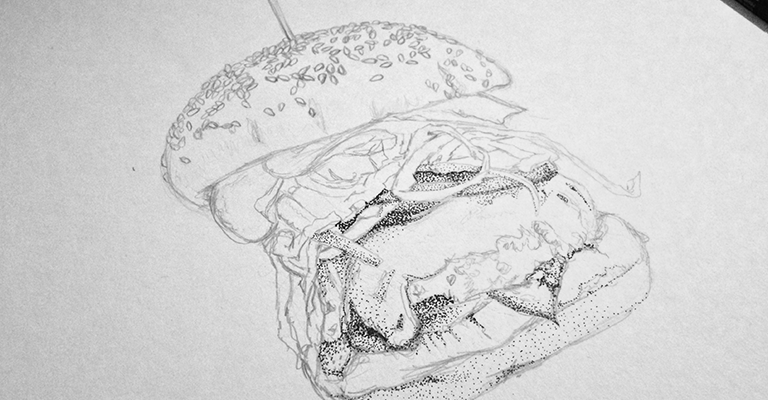
01 Start with a rough sketch using a pencil.
02 After finishing your sketch, you can start with the fun part. Depending on what is your most comfortable part, start to pointilize. Fernanda started with the shadow-areas, because she finds it easier to see the design taking shape rather than making mistakes in the light-areas.
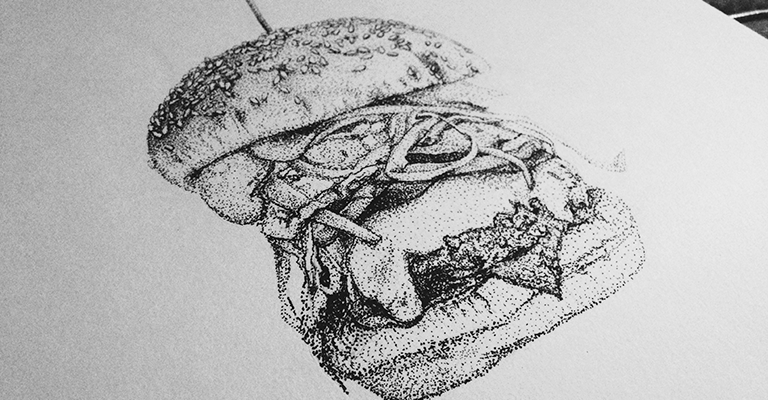
03 Afterwards, add all points throughout the drawing until you feel that all the right spaces are filled with shadows. Then head over to the details and lights.
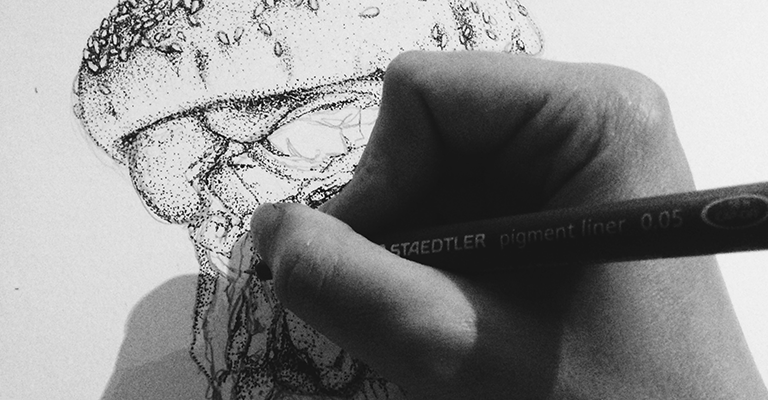
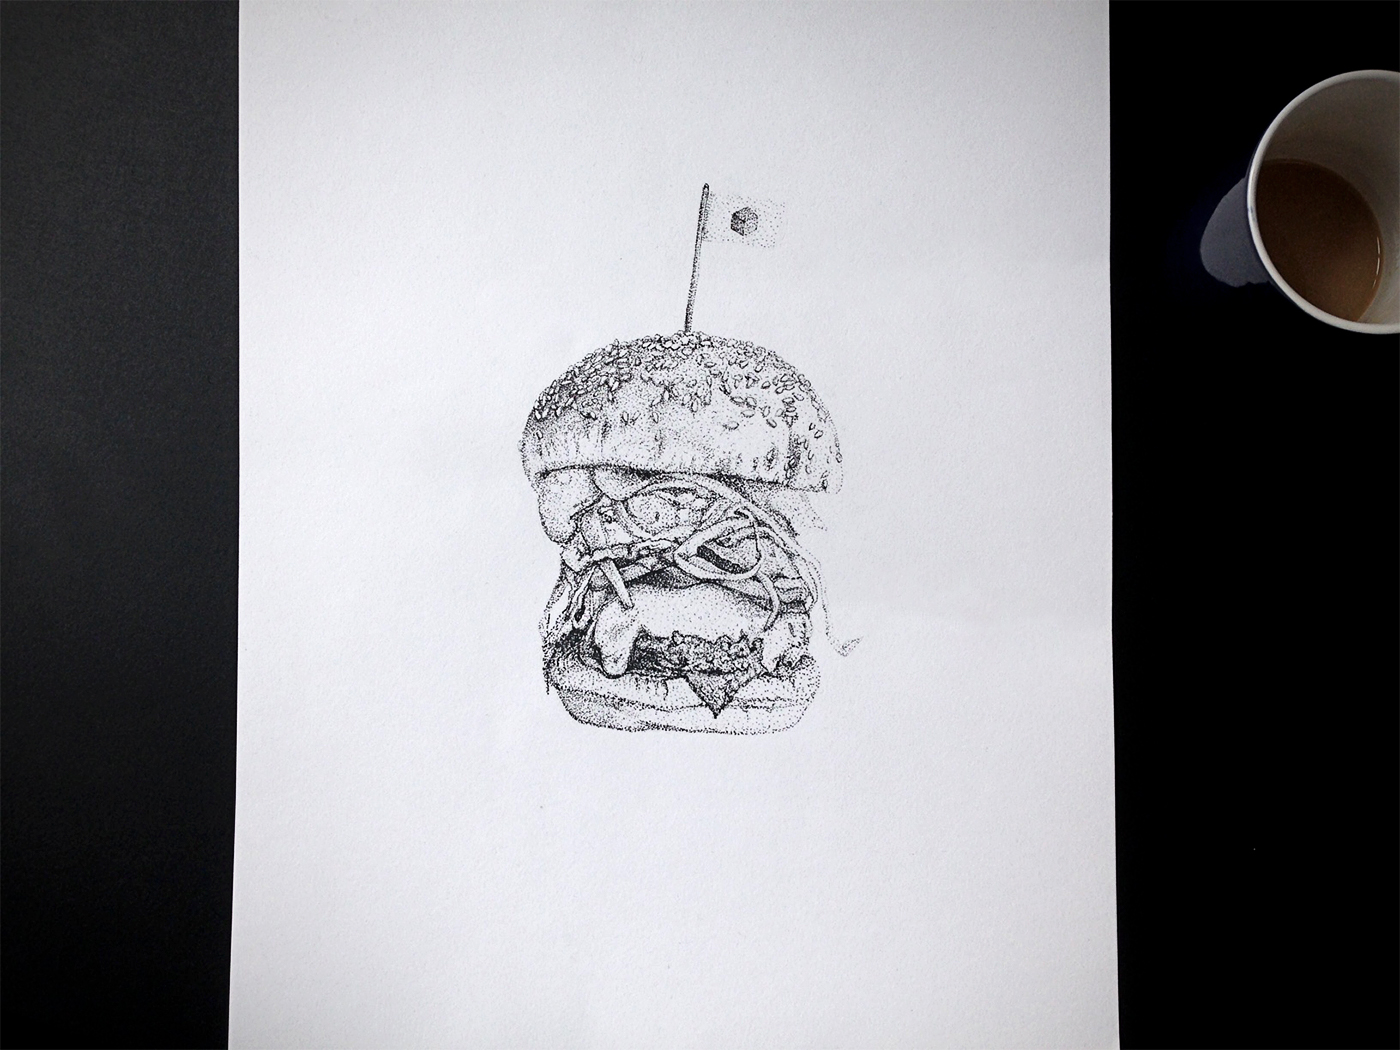
04 After hours of work, a lot of patience, dark coffee and good music your drawing should be ready.
Here it is: Your super tasty burger. #foodporn